Style TW49
Wrap Dress
Let’s get started!
1 - Gather your materials and tools
Fabric; we recommend linen, jersey, denim & chambray, batik, rayon, knits, and similar fabrics. We chose jersey. See the image below for quantities.
Thread
Tools What do I need?
2 - Print and cut
There are 3 printing options:
Small printer - Slow Learn how >
Medium printer - Fast Learn how >
Large printer - Fastest Learn how >
3 - Cut out the fabric pieces Learn how >
Seam and hem allowances are already included.
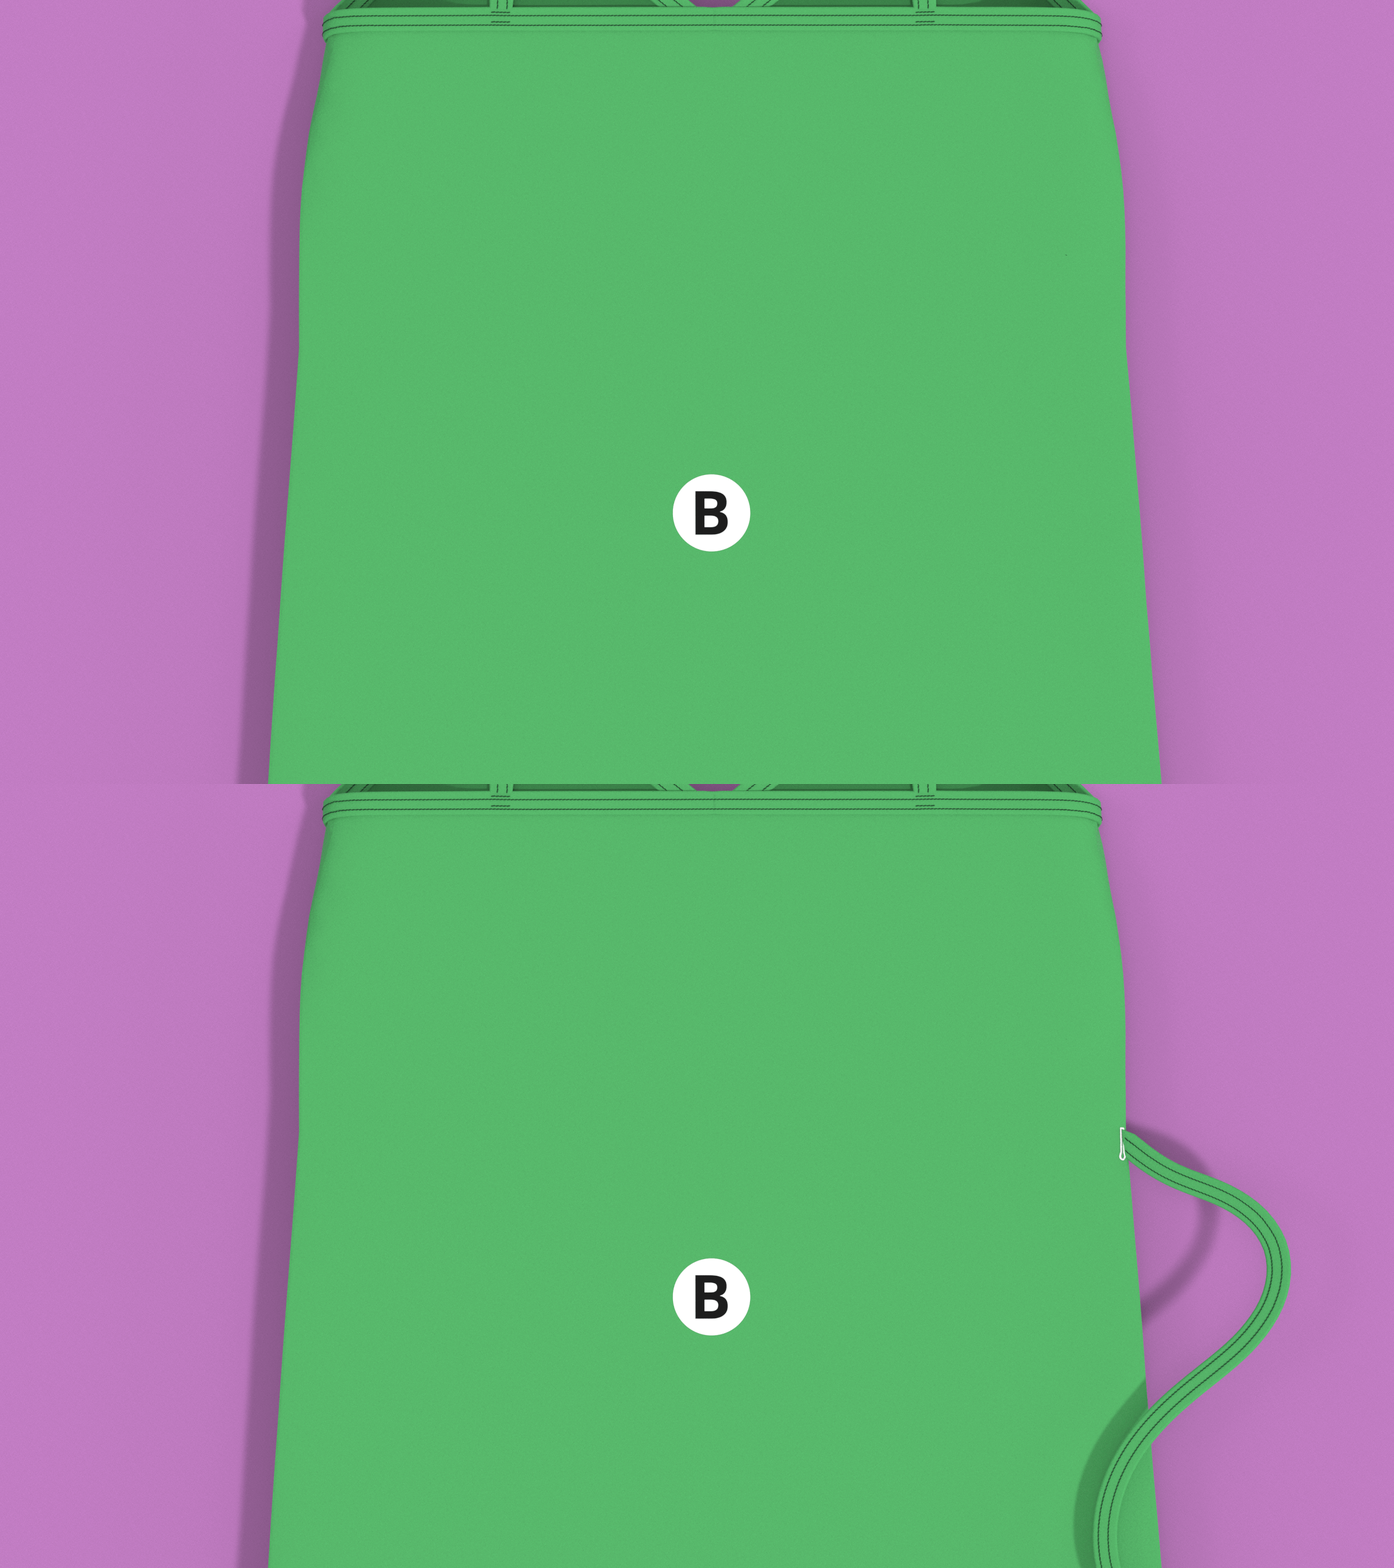
4 - Label your pieces
For clarity, we made the wrong side of our fabric darker.
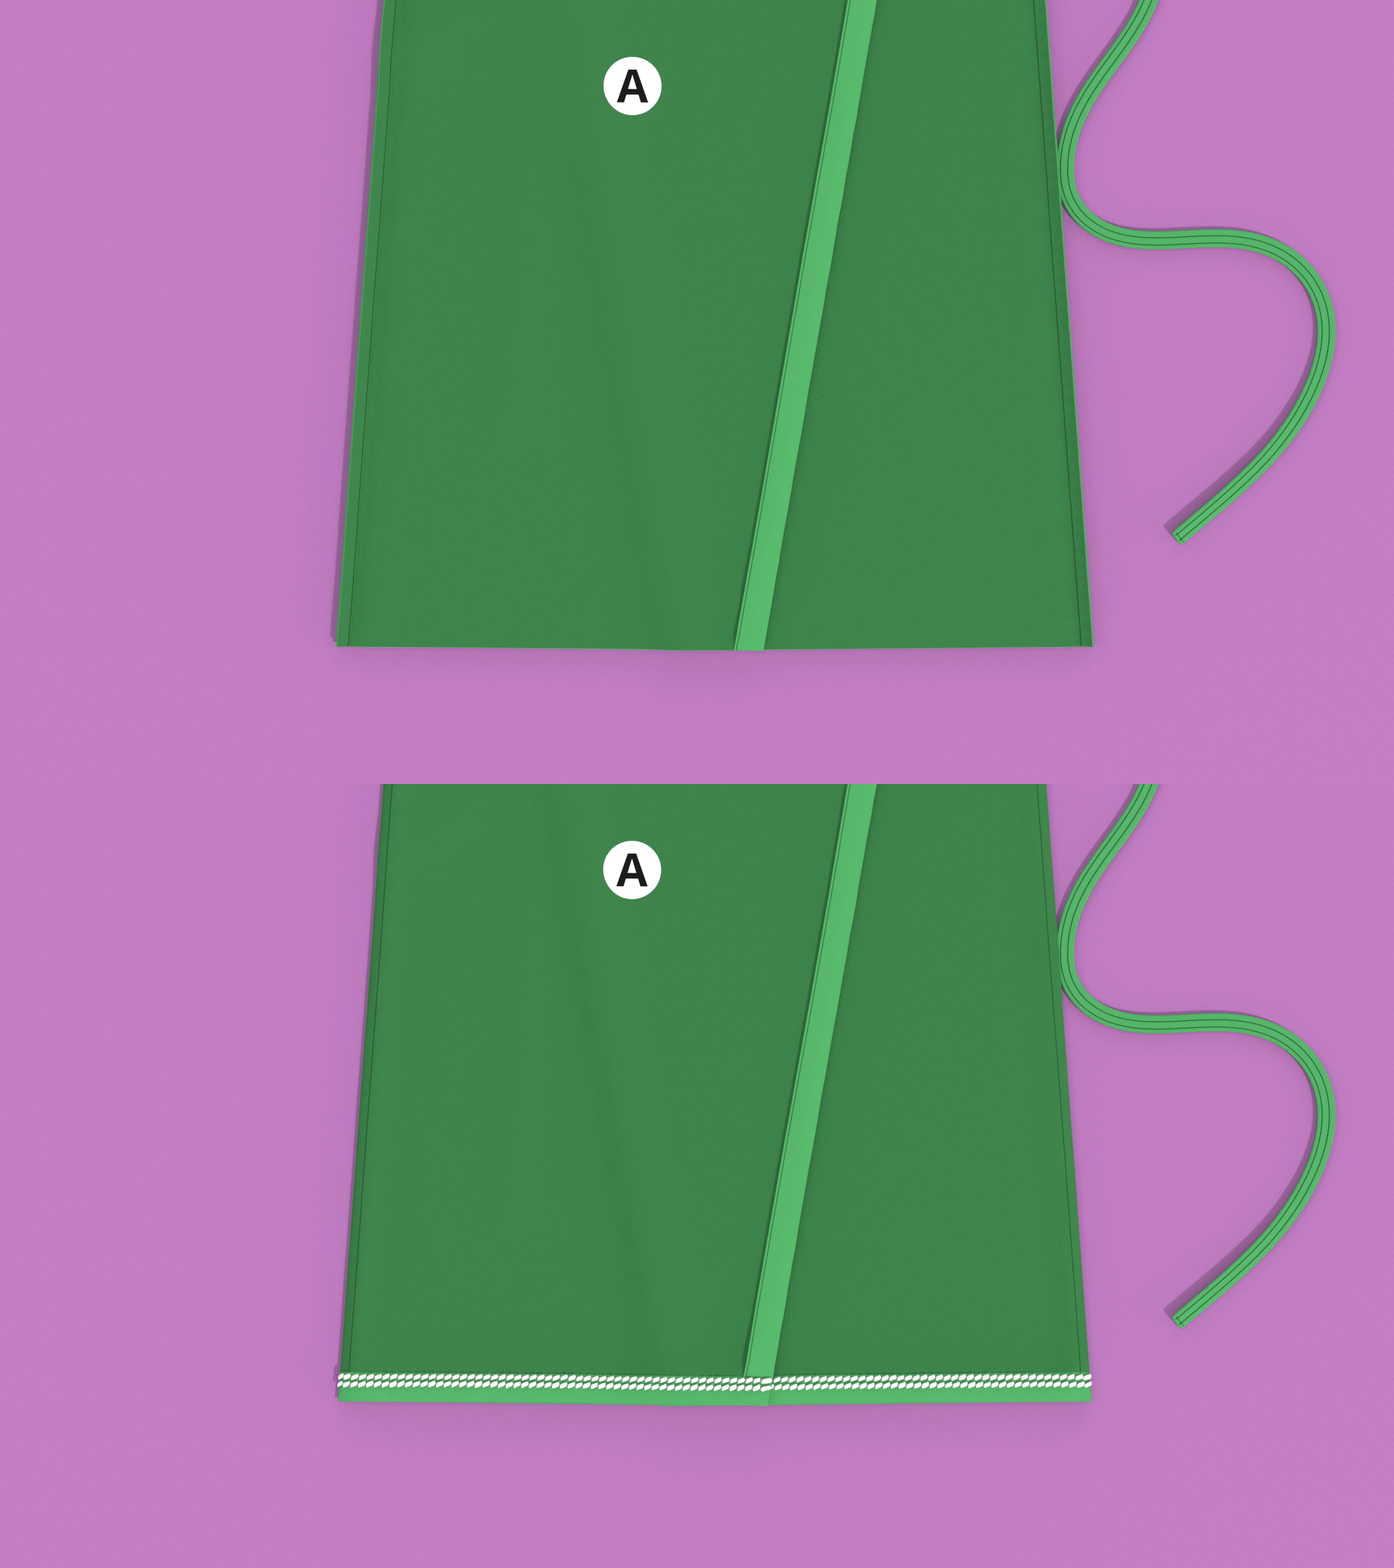
5 - Hem the front panels
Use 3/4 inch hem allowance
We chose a single-fold hem and finished it with a stretch stitch What should I choose?
6 - Create the neckline & waist tie binding
7 - Attach the neckline & waist tie binding
Use 3/8 inch seam allowance
We chose a plain seam with a stretch stitch and finished it with a double-needle topstitch
8 - Create the neckline & waist tie binding
9 - Attach the neckline & waist tie binding
Use 3/8 inch seam allowance
We chose a plain seam with a stretch stitch and finished it with a double-needle topstitch
10 - Sew the side seams
Use 3/8 inch seam allowance
We chose a plain seam with a stretch stitch and finished it with an overcast stitch
11 - Create the armhole, back, & strap binding
12 - Attach the armhole, back, & strap bindings
Use 3/8 inch seam allowance
We chose a plain seam with a stretch stitch and finished it with a double-needle topstitch
13 - Hem the bottom
Use 3/4 inch hem allowance
We chose a single-fold hem and finished it with a double-needle topstitch
14 - Create the strap slit
We chose a buttonhole stitch
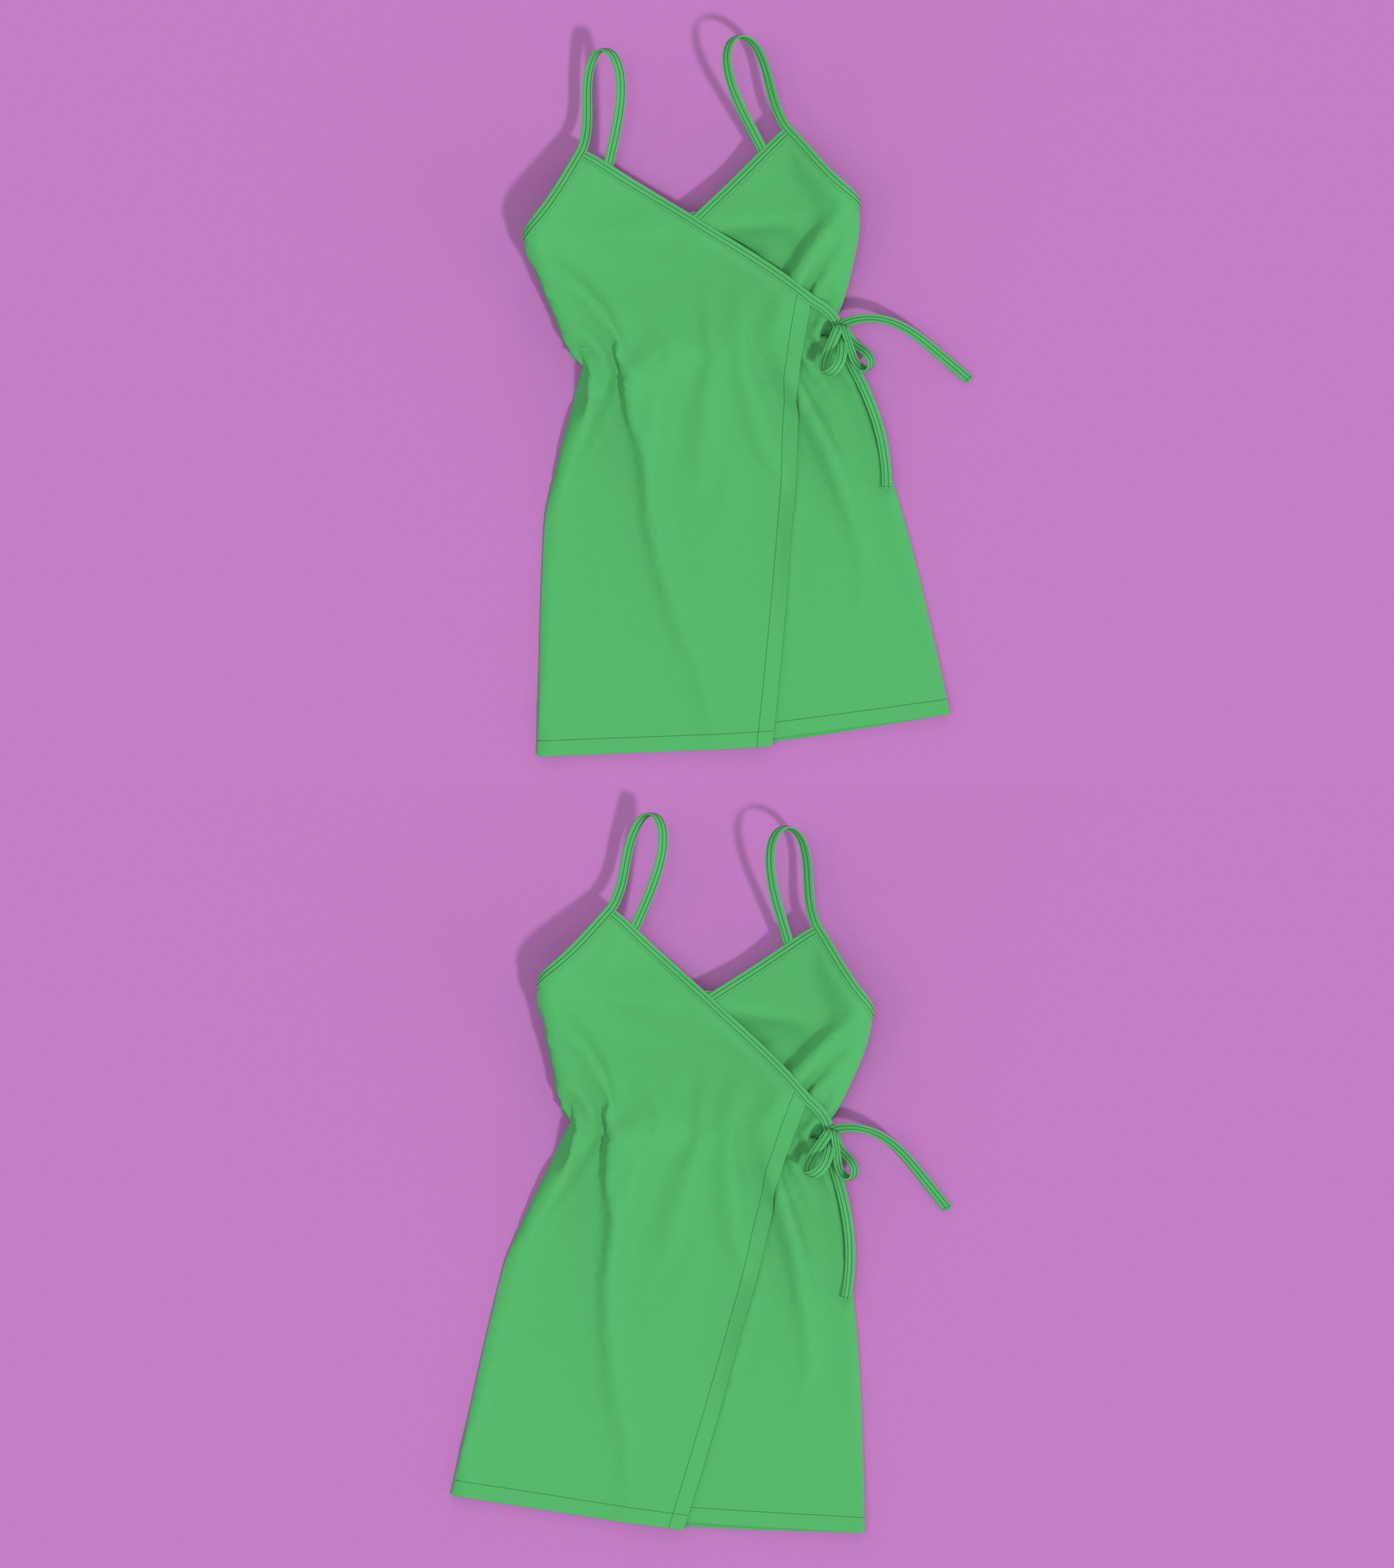
15 - Do a little dance!
Be a pro! Trim any excess thread and allowances, then, give it a good iron.


