
STEP 1
Print the pattern
Follow the instructions for your paper size below:
36” x 36” size paper
1 - Open the 36” print file
2 - Print; ensure the settings are:
Paper size = 36” wide
Scale = Actual size (100%)
Layout = Portrait
3 - Measure the Thimball square
If incorrect, adjust the print settings until the square measures correct. If you’re having trouble printing accurately, we recommend using Adobe Acrobat Free Download
A0 size paper
1 - Open the A0 print file
2 - Print page 1; ensure the settings are:
Paper size = A0
Scale = Actual size (100%)
Layout = Portrait
Pages = Page 1 only
3 - Measure the Thimball square
If incorrect, adjust the print settings until the square measures correct. If you’re having trouble printing accurately, we recommend using Adobe Acrobat Free Download
4 - Print the remaining pages
8” x 11.5” size paper
1. Open the 8.5” x 11” print file
2. Print page 1 only, ensure the settings are:
Paper size = 8.5” x 11” (Letter)
Scale = Actual size (100%)
Layout = Portrait
Pages = Page 1 only
3. Measure the Thimball square
If incorrect, adjust the print settings until the square measures correct. If you’re having trouble printing accurately, we recommend using Adobe Acrobat Free Download
4. Print the remaining pages and lay them out as required.
Row 1 = A1, A2, A3…
Row 2 = B1, B2, B3…
Row 3 = C1, C2, C3…

5. Cut out the rectangles on each page

6. Arrange and tape the rectangles together
Match the diamonds along the edges for accurate alignment.

A4 size paper
1. Open the A4 print file
2. Print page 1 only, ensure the settings are:
Paper size = A4
Scale = Actual size (100%)
Layout = Portrait
Pages = Page 1 only
3. Measure the Thimball square
If incorrect, adjust the print settings until the square measures correct. If you’re having trouble printing accurately, we recommend using Adobe Acrobat Free Download
4. Print the remaining pages and lay them out as required.
Row 1 = A1, A2, A3…
Row 2 = B1, B2, B3…
Row 3 = C1, C2, C3…

5. Cut out the rectangles on each page

6. Arrange and tape the rectangles together
Match the diamonds along the edges for accurate alignment.

STEP 2
Round up your tools
Sewing machine
Iron and ironing board
Scissors
Tape
Pins
Fabric pen or chalk
STEP 3
Gather your materials

STEP 4
Cut out the paper pieces for your size
See step 3 images for size info.
STEP 5
Cut out the fabric pieces
Seam allowance and hem allowance are already included.
Follow the cut instructions on the paper pieces Learn more >

STEP 6
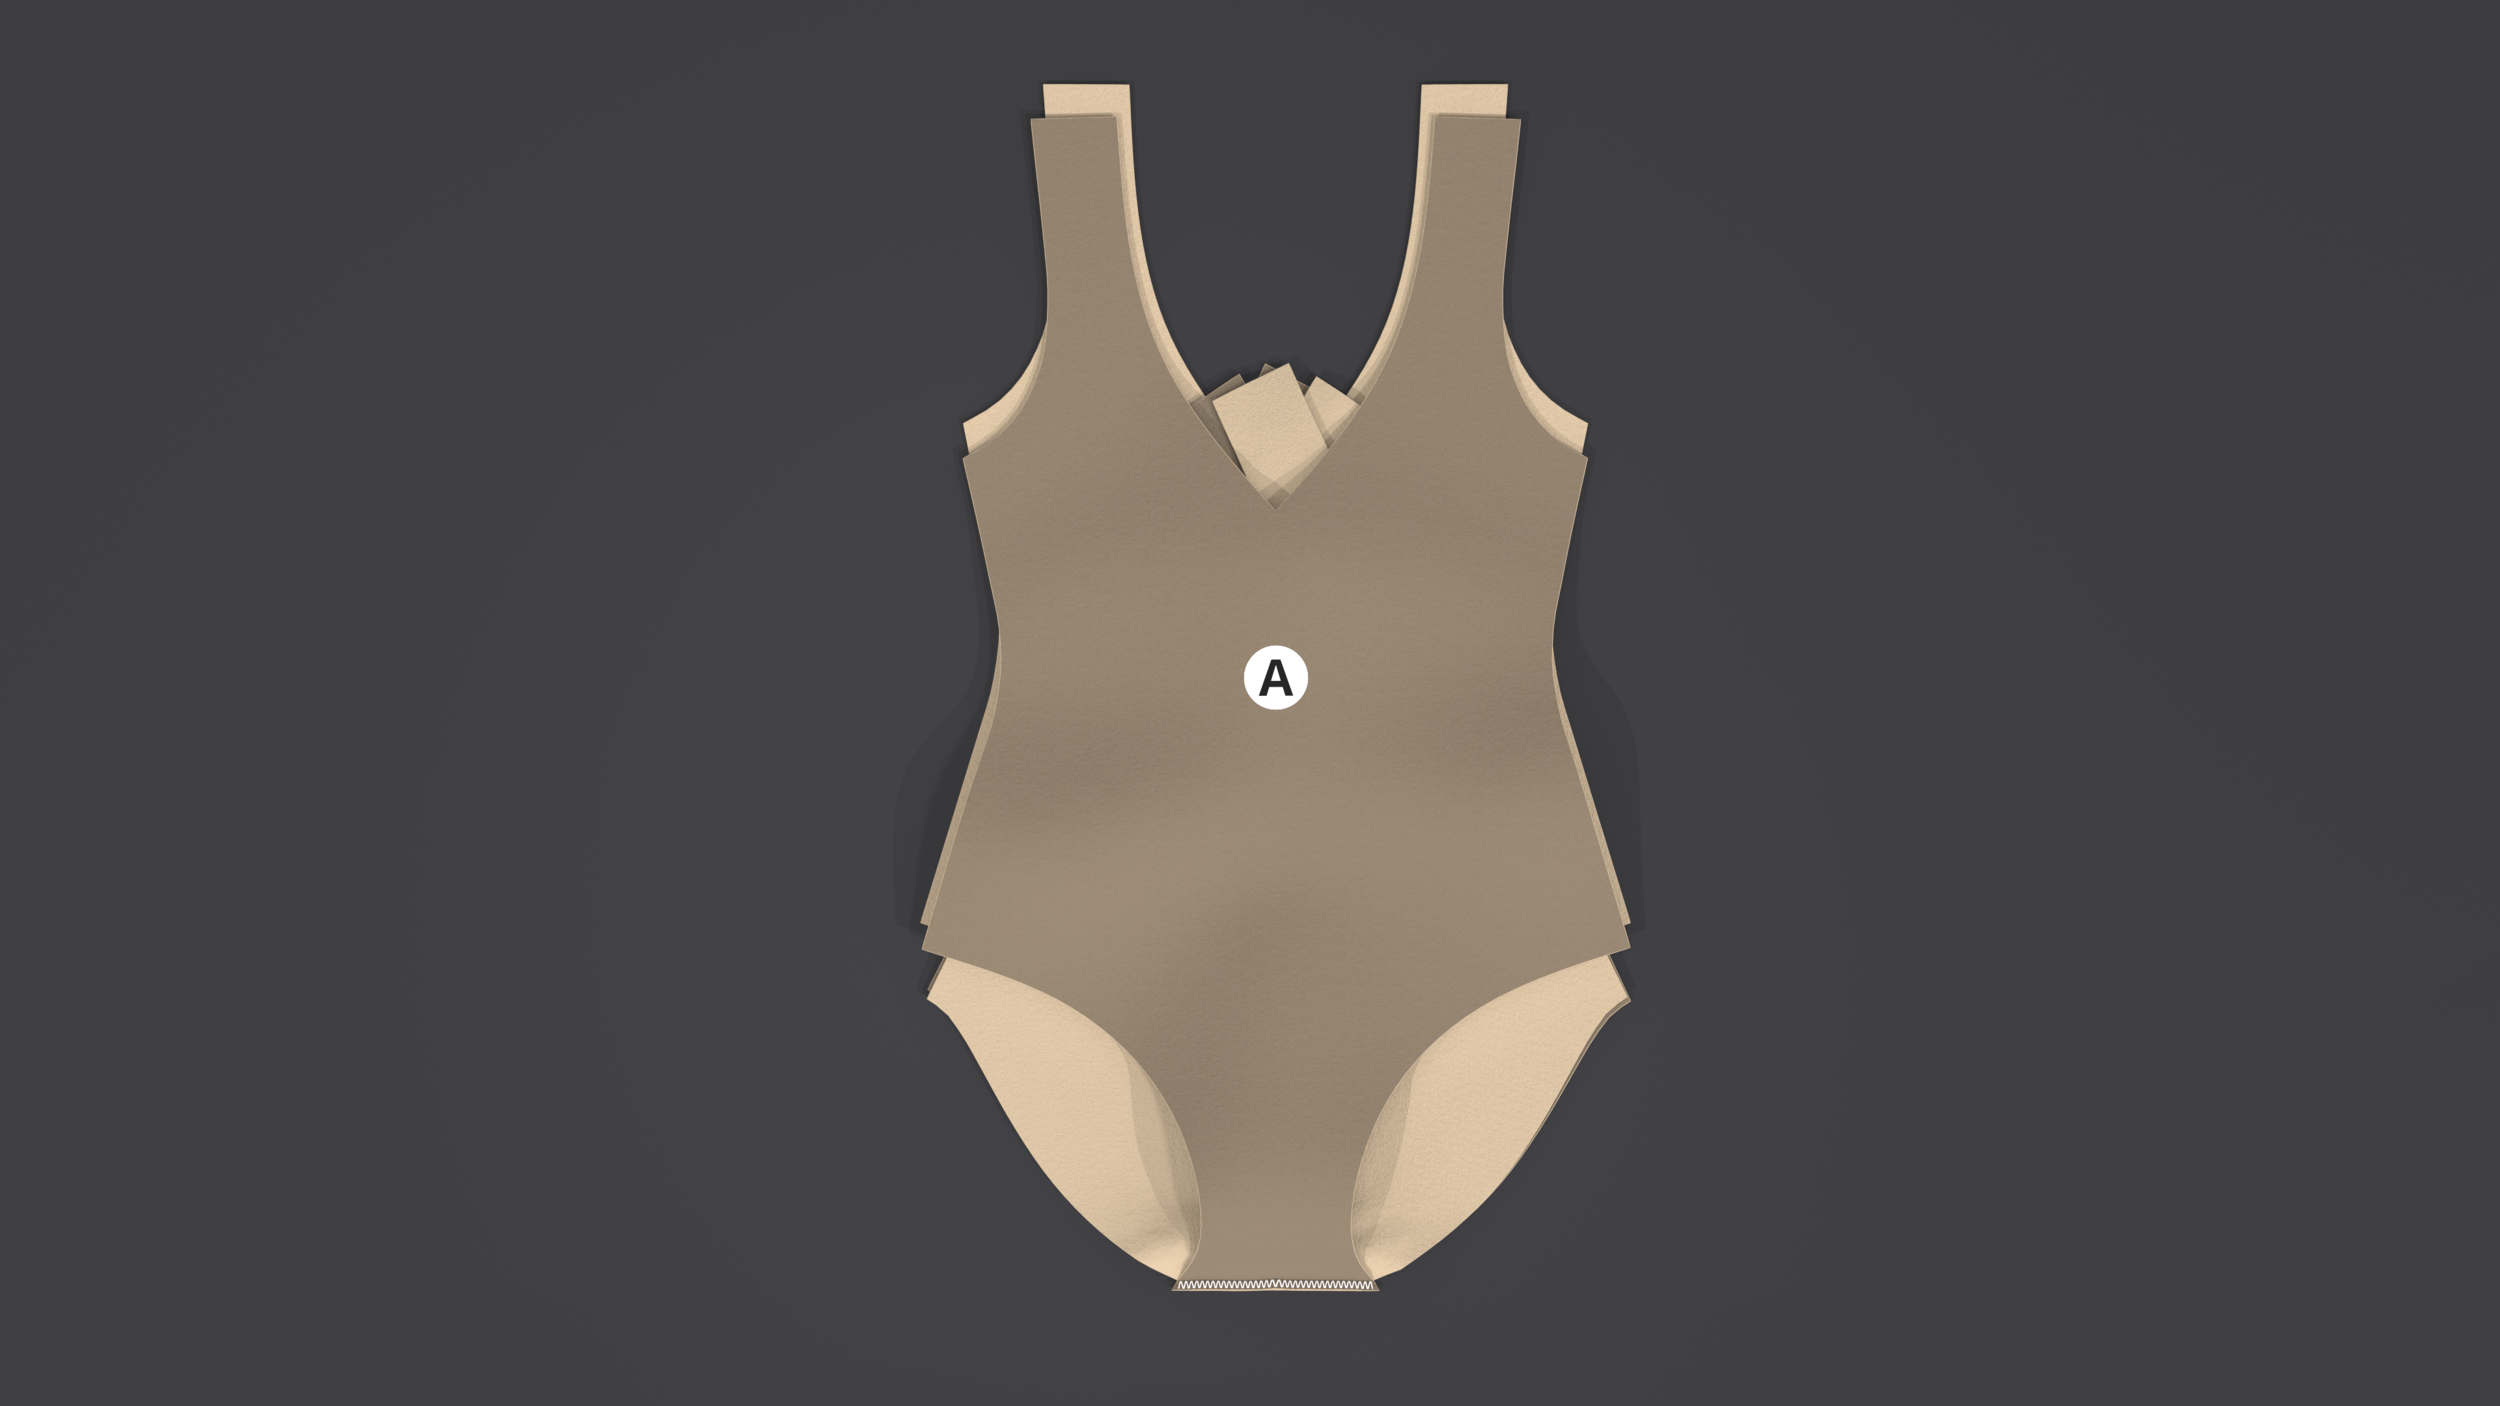
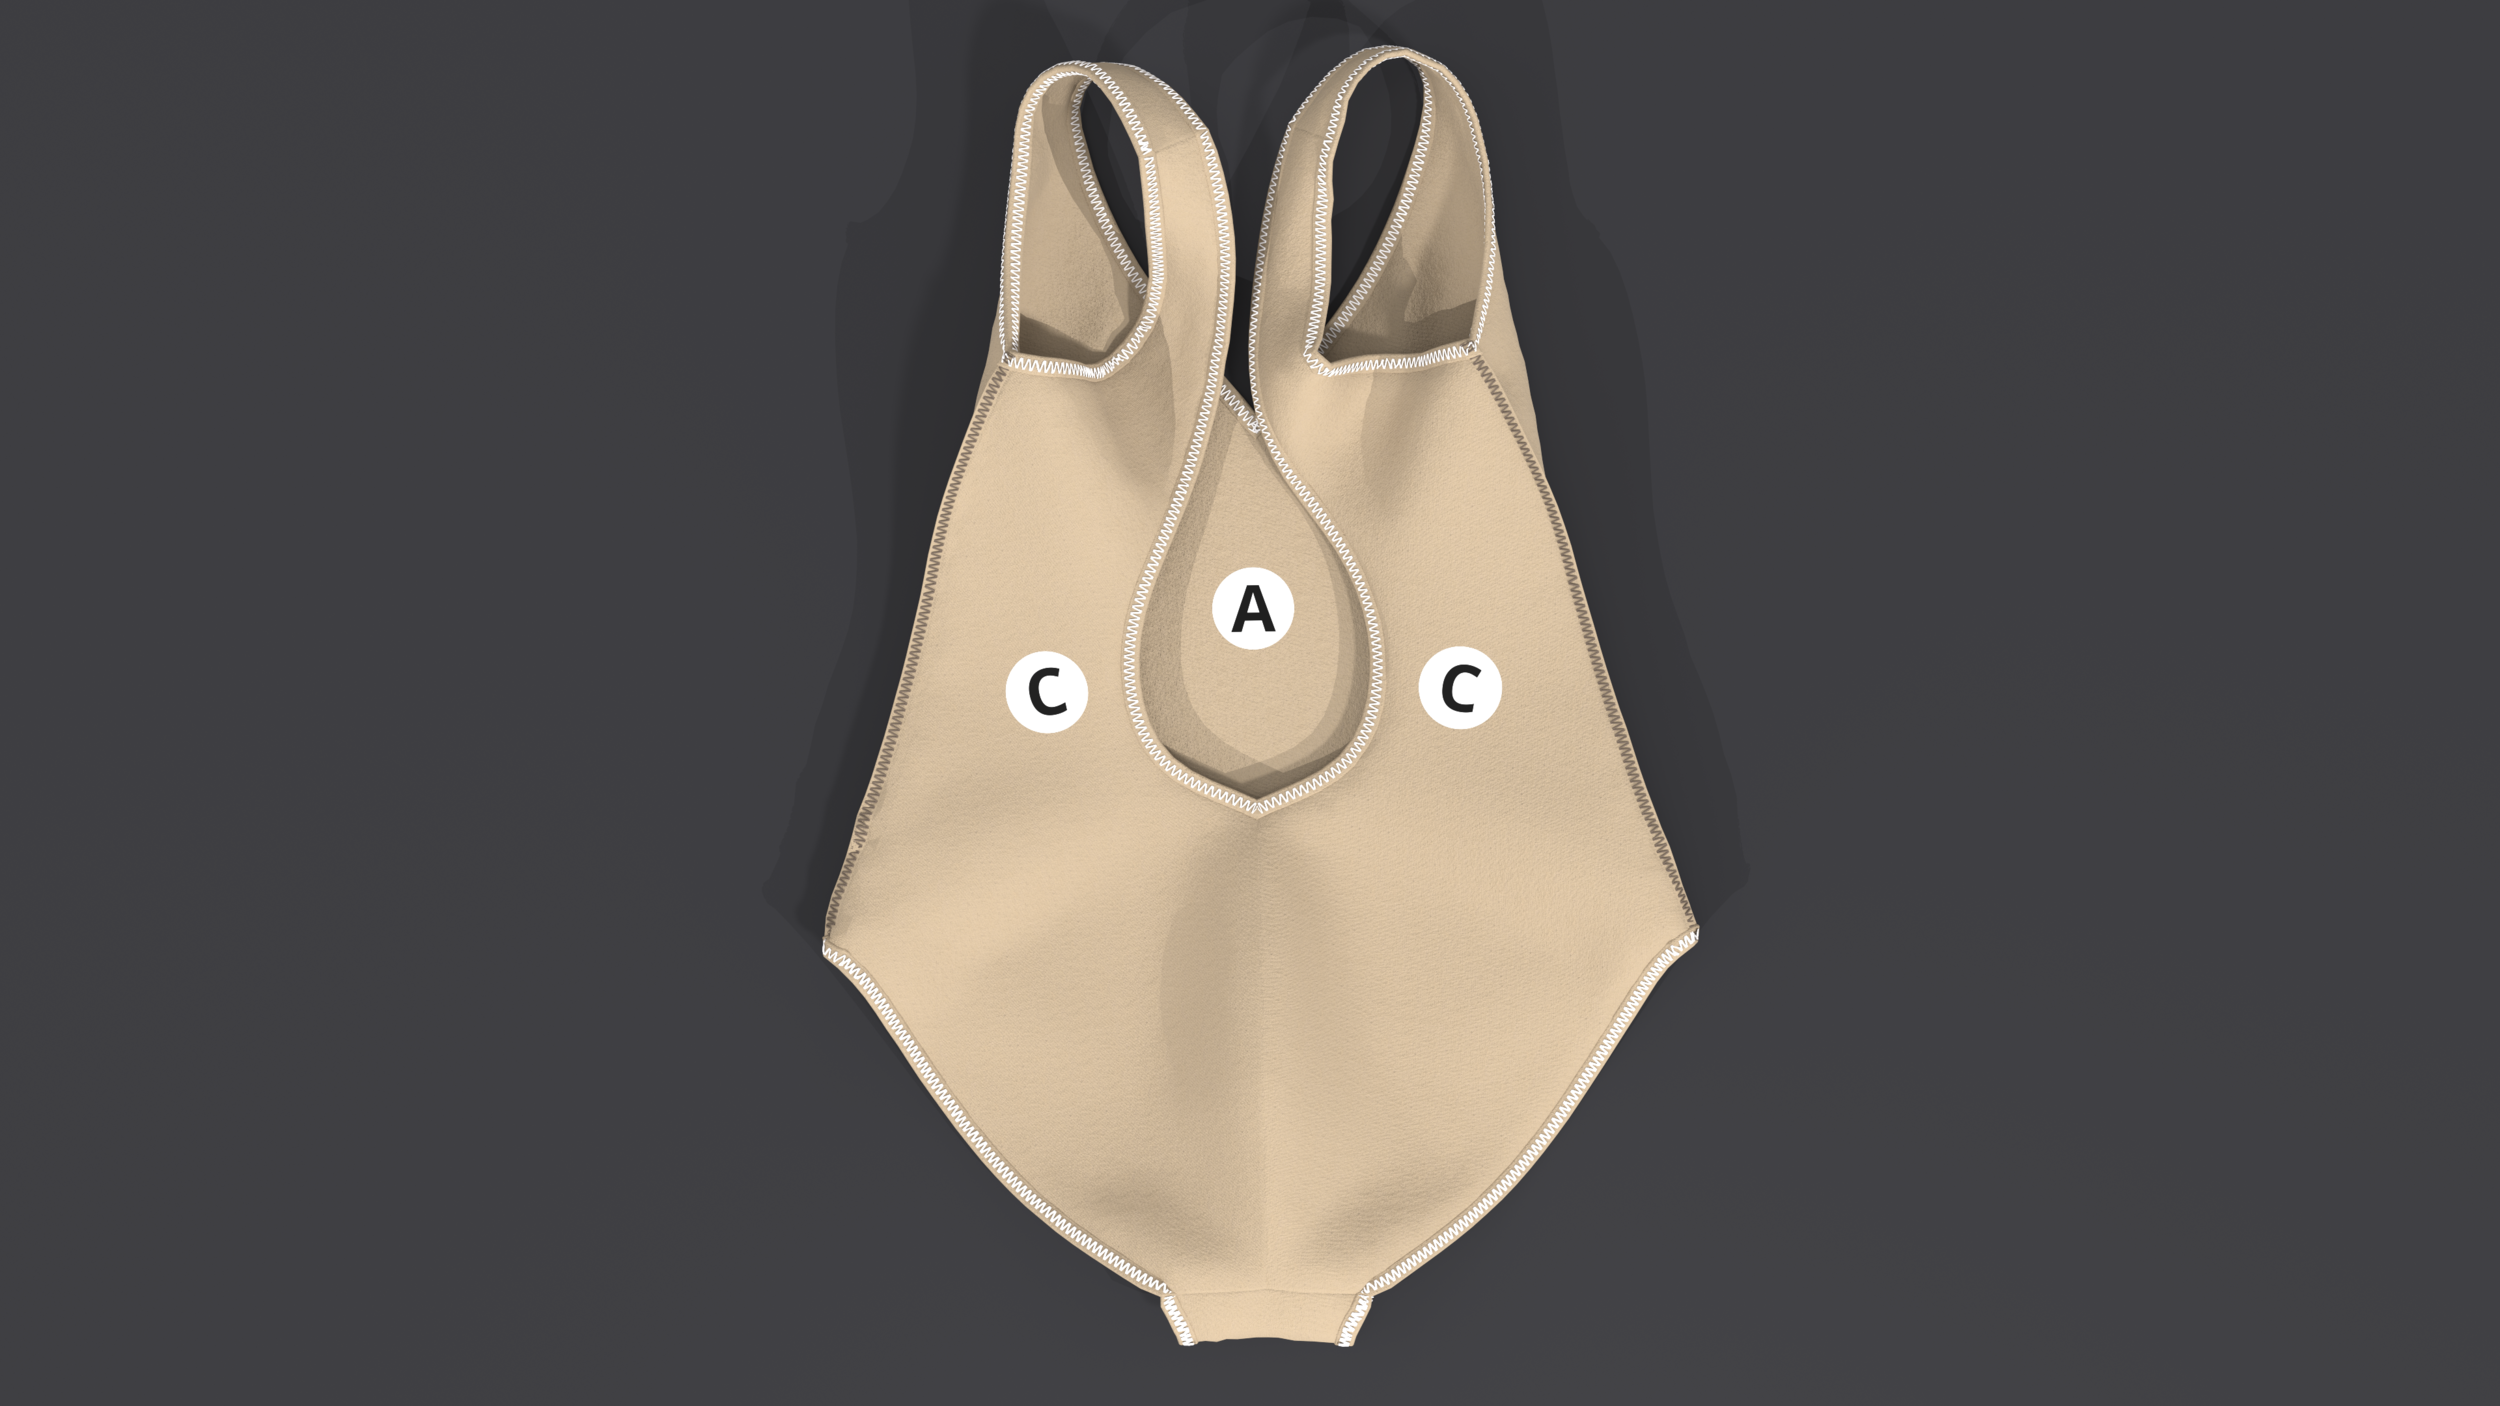
Label your fabric pieces
For clarity, we made the wrong side of our fabric darker.
For a closer look, you can click or double-tap on the images to activate zoom.

STEP 7
Sew the back seam
Use 1/4 inch seam allowance
We chose a zigzag stitch


STEP 8
Secure the crotch
Use 1/4 inch seam allowance
We chose a basting stitch


STEP 9
Sew the crotch seam
Use 1/4 inch seam allowance
We chose a zigzag stitch
The back body is between the front body pieces

STEP 10
Turn over the front panel
Trim excess seam allowance


STEP 11
Secure the edges
Use 1/4 inch seam allowance
We chose a basting stitch
Leave the shoulder seams open


STEP 12
Sew the shoulder seams
Use 1/4 inch seam allowance
We chose a zigzag stitch
Sew the exterior shoulder seam


STEP 13
Sew the shoulder seams
Use 1/4 inch seam allowance
We chose a zigzag stitch
Sew the lining shoulder seam


STEP 14
Secure the open edges
Use 1/4 inch seam allowance
We chose a basting stitch


STEP 15
Sew the side seams
Use 1/4 inch seam allowance
We chose a zigzag stitch


STEP 16
Create the neckline elastics
We chose a zigzag stitch
Measure the neckline circumference, then, add 1 inch.
Cut the total length.
Sew the elastic to circumference by overlapping the edge by 1 inch.


STEP 17
Attach the neckline elastic
We chose a zigzag stitch
Do not stretch the elastic while sewing


STEP 18
Create the armhole elastics
We chose a zigzag stitch
Measure the armhole circumference, then, add 1 inch.
Cut the total length.
Sew the elastic to circumference by overlapping the edge by 1 inch.


STEP 19
Attach the armhole elastics
We chose a zigzag stitch
Do not stretch the elastic while sewing


STEP 20
Create the leg opening elastics
We chose a zigzag stitch
Measure the leg opening circumference, then, add 1 inch.
Cut the total length.
Sew the elastic to circumference by overlapping the edge by 1 inch.


STEP 21
Attach the leg opening elastics
We chose a zigzag stitch
Do not stretch the elastic while sewing


STEP 22
Hem the elastics
We chose a single fold and finished it with a zigzag stitch

COMPLETE
You did it!
Be a pro! Trim any excess thread and allowances, then, give it a good iron.
