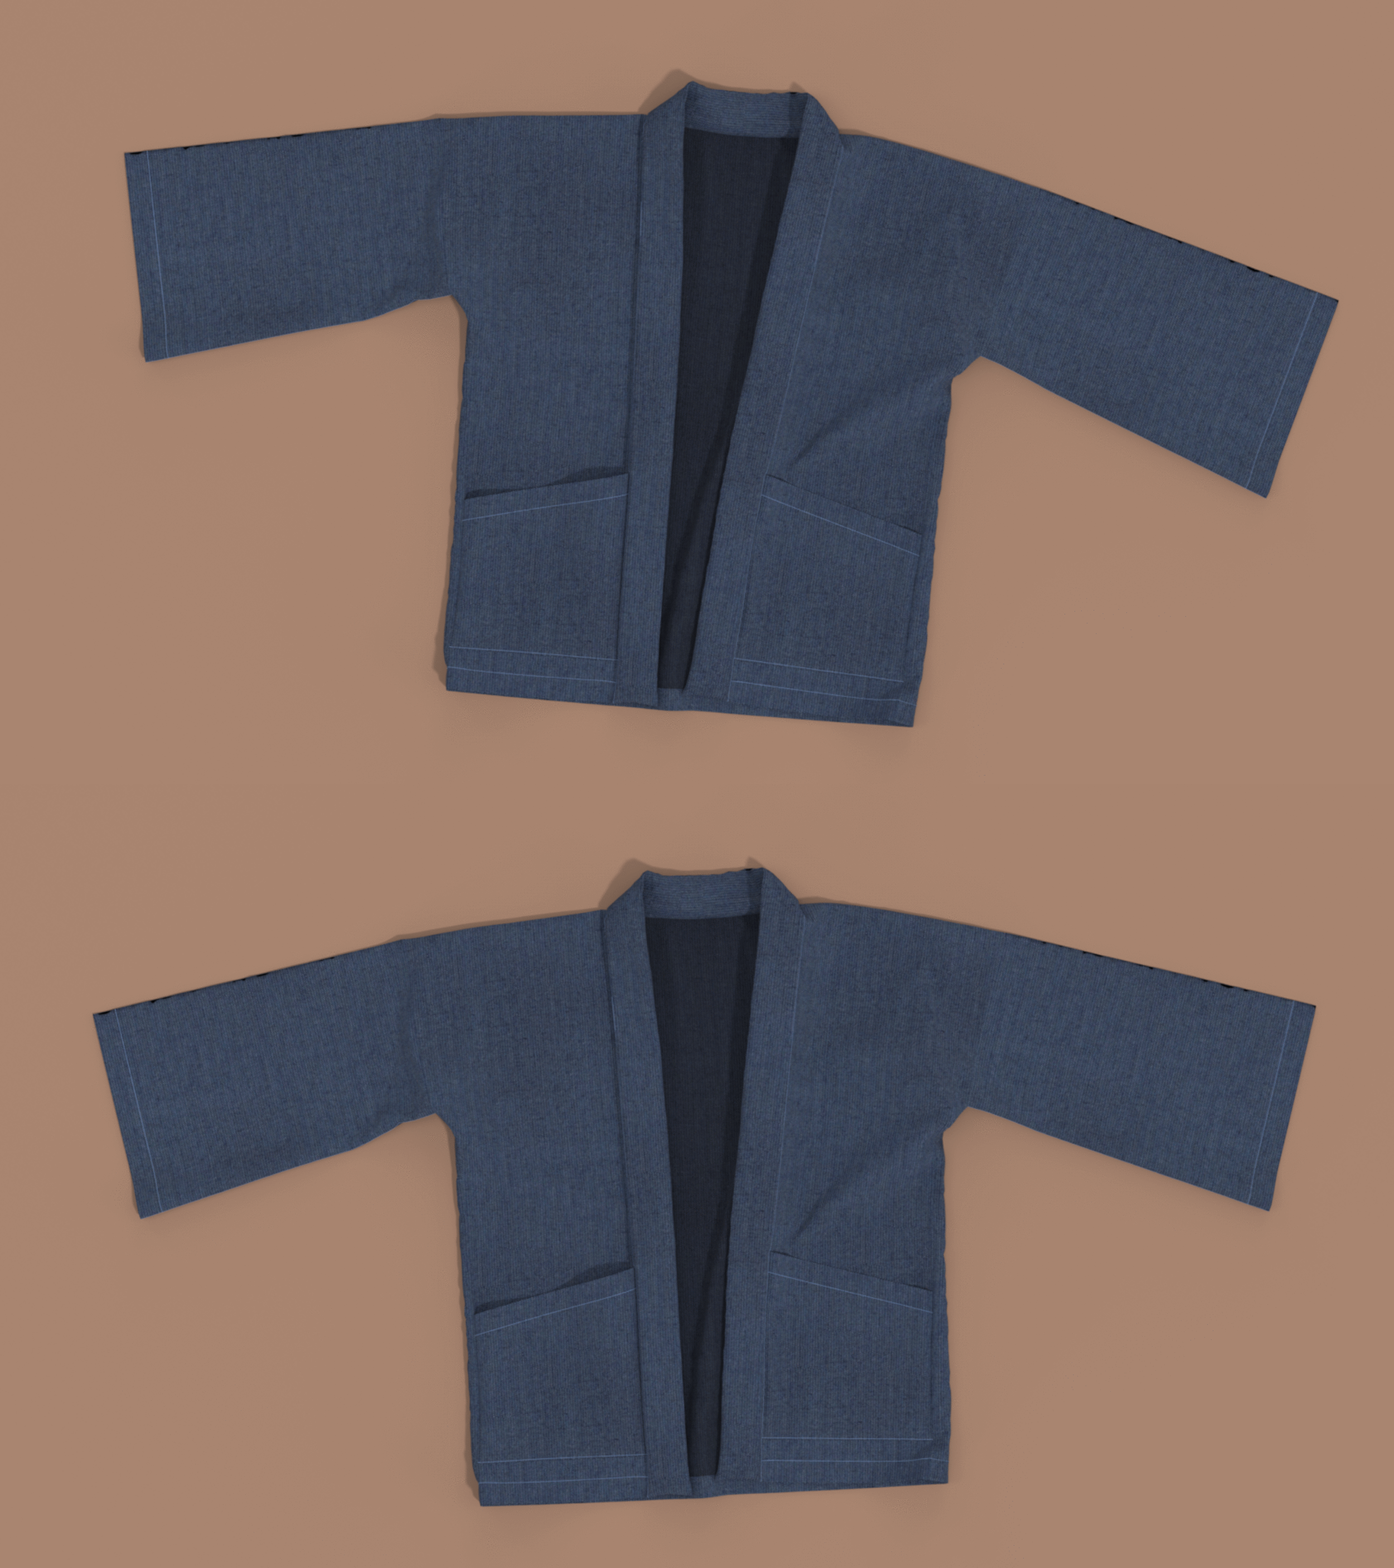
Style TW11
Kimono Jacket
We're here to help. Chat now.
Let’s get started!
1 - Pick up your materials and tools
Knit or woven fabric. We chose chambray. See the image below for quantities.
Thread
Tools What do I need?
2 - Print and cut
There are 3 printing options:
Small printer - Slow Learn how >
Medium printer - Fast Learn how >
Large printer - Fastest Learn how >
3 - Cut out your fabric pieces Learn how >
Seam and hem allowances are already included.
4 - Label your pieces
For clarity, we made the wrong side of our fabric darker.
5 - Create the pockets
Use 1 & 3/8 inch hem allowance on the top and 3/8 on the bottom
We chose a double-fold hem with a straight stitch on the top and a single fold on the bottom What should I choose?
6 - Attach the pockets
Use 3/8 inch seam allowance
We chose a basting stitch on the sides and a straight stitch on the bottom
7 - Sew the shoulders
Use 3/8 inch seam allowance
We chose plain seams with a straight stitch and finished it with an overcast stitch
8 - Attach the sleeves
Use 3/8 inch seam allowance
We chose plain seams with a straight stitch and finished it with an overcast stitch
9 - Sew the sides and sleeves
Use 3/8 inch seam allowance
We chose plain seams with a straight stitch and finished it with an overcast stitch
10 - Hem the sleeves
Use 1 & 3/8 inch hem allowance
We chose a double-fold hem with a straight stitch
11 - Hem the bottom
Use 1 & 3/8 inch hem allowance
We chose a double-fold hem with a straight stitch
12 - Create the neckband
Use 3/8 inch seam allowance
We chose plain seams with a straight stitch
13 - Attach the Neckband
Use 3/8 inch seam allowance
We chose plain seams with a straight stitch
14 - Do a Little Dance!


